Tuesday, April 15, 2014

Tuesday's Tallies - April 15th 2014

Hello Lovelies!
So here we go!
Wednesday:
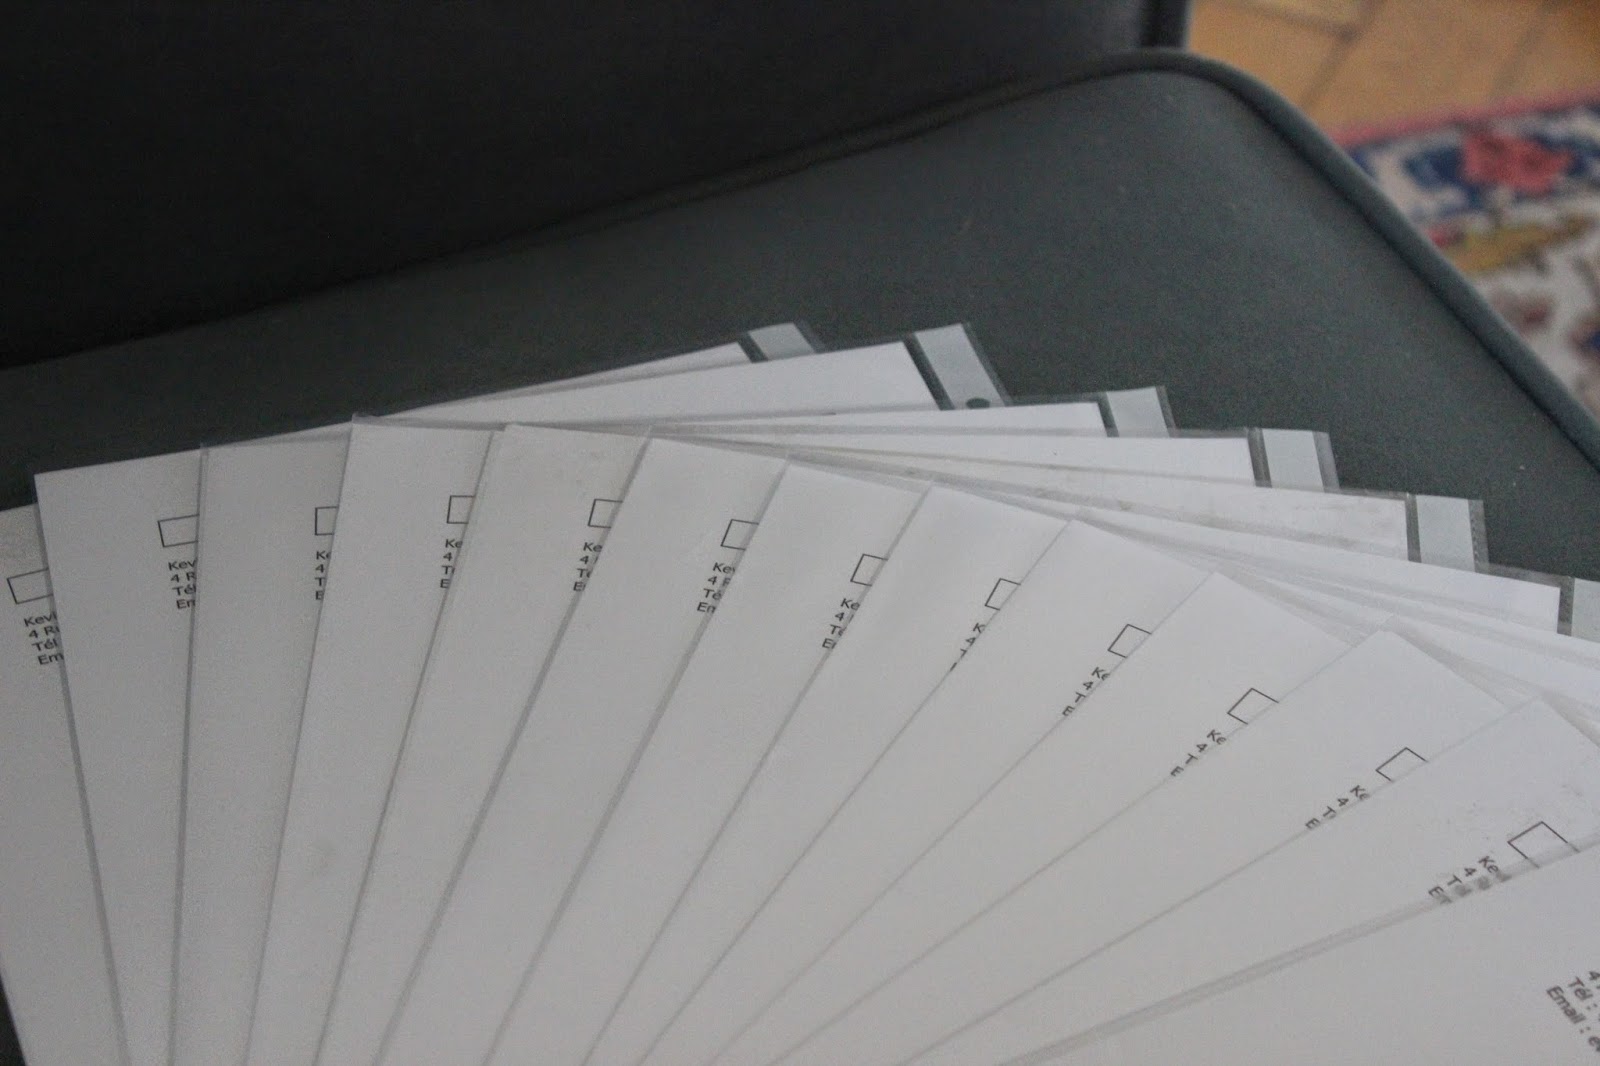
I started off the day by watching Lilo & Stitch for the unteenth time. When I was finished I wrote and printed out a couple resumes/CVs/whatever for me and my boyfriend. 
When I wasd finished doing that I asked my little brother to help me and we carried down half the DVDs we have in the attic (my family is a bunch of home-video-addicts. We've got a couple on video cassettes, but since digital is so much easier, we film nearly everything that happens...) I started archiving them on my external hard-drive because the DVDs wouldn't live much longer. We have a lot of DVDs... There's probably hundreds of euros worth of blank CDs there...
Thursday:
I asked my dad to drive me to the nearest city so I could not only hand over all those CVs but also to ask in the daycare if I could do six weeks of work-experienc that's required to get into the school I was admitted to. It was a lot of walking, but in the end I went back home with the phone-number of the daycare's boss and only one CV that I couldn't hand over because the place was closed...
Friday:
I called the daycare's boss and got an appointment for Monday to talk it through with her, so we'll see how that goes! I also went through the last DVDs of the first half. These are now all archived:
All those boxes are full of DVDs in cases. It's mental... Imagine all the money that could've been saved by just buying an external hard-drive right away x)
Saturday:
Oh my gosh. I feel like every few DVDs that are archived grow new ones on the To-Do-pile! There's just no end to it!
Oh and by the way! Tomorrow my friend Libby's gonna audition for X-factor! My fingers are crossed and I wish her all the best, we'll see how it goes tomorrow :)
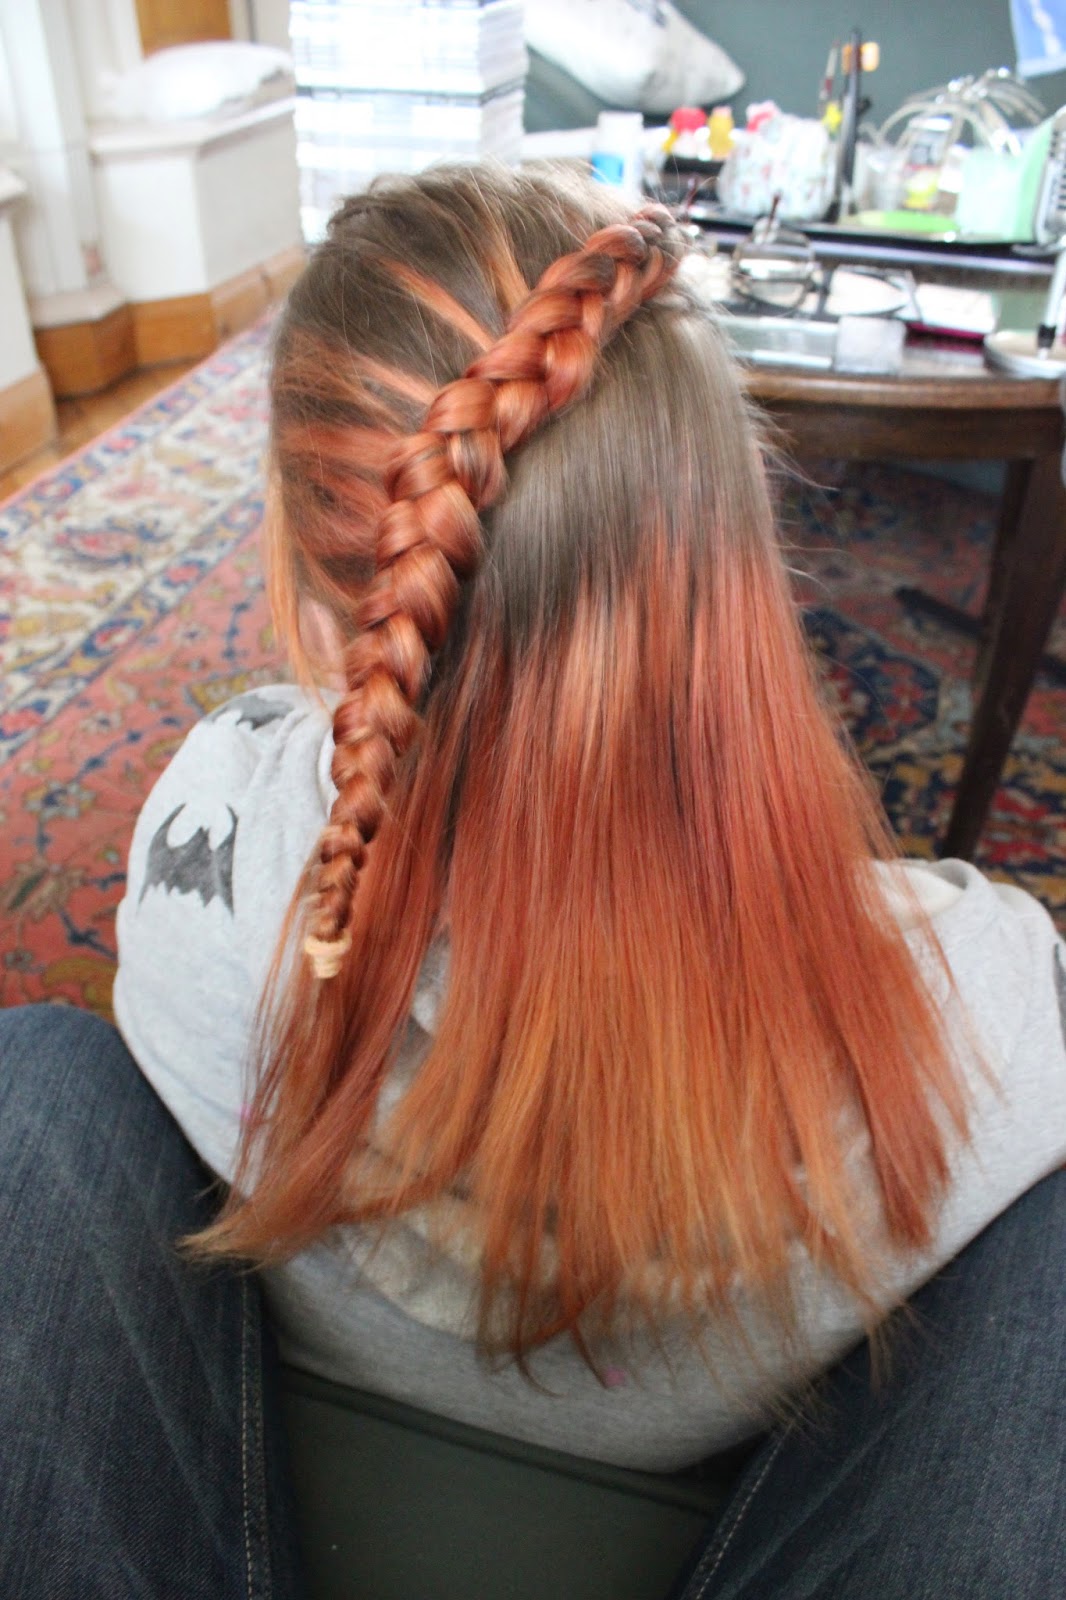
 Also I braided my sister's hair:
Sunday:
I think I've never had as weird a day as today. I was just supposed to go for a walk with my best friend, his new boyfriend and his parents. We had quite a nice afternoon with their dogs near the rhine. Until his boyfriend got a call from a friend who was asking where we were to meet up with us. Another gay friend. And our town is really small and I thought how many gay guys can there be. I was very surprised...
But even more so when I saw that mysterious friend. It turned out to be my ex-boyfriend. You can imagine what a weird meeting that was. His fiancé is a lovely guy! We spent the rest of the afternoon talking about him! It was really fun and it drove him mad x)
I guess you wanna know how it went for Libby... Well...
She didn't get through... But she takes it quite well. She's more comfortable on Youtube anyway. :)
Monday:
I managed to do my hair really pretty today! :D
I haven't touched any of the remaining DVDs since saturday... But... I'm gonna work on it... Probably... Maybe...
Tuesday:
Today I went to my boyfriend's. His best friend picked me up at the station and we went to his home together.
I've also started working on a scarf at the beginning of the week - I even made a picture, but unfortunately I left the memory card at home... I'll show you next week :)

Tuesday, April 8, 2014

Tuesday's Tallies - March 8th 2014

I blog less and less... So I decided to start doing weekly-ish updates on what I'm doing, whether it's crochet, knitting or other crafty stuff.
So here we go for the very fisrt update!
Since my last post I have been making a lot of dresses for my dolls. Here's a picture of all of them:
Tell me which one's your favorite! I'm really curious! 
I also did some non-crafty things this week.
On Friday, for example, I became an aunt. My little niece was born at 7.02pm French time and she's gorgeous!
Can't show you a picture of that though... Sorry.
On Sunday I went to see my boyfriend's American Football match. Here are some pictures:


He's the number 52 here. Although that's not his official number. He doesn't have one yet. But that doesn't matter, because hes the only one with flashy green shoes, so he's easy to find in the mass of players.
I took a load of other photos. Some of them I took with my Ricoh reflex camera. The one that needs a 35mm film. I brought them to the drugstore for developping yesterday. I'm really excited to see how they turned out.
Then, on Monday, something amazing happened. I looked into our mailbox and found a letter from the school I applied for in january. It was to tell me that I was in. They had a place for me and they just needed me to confirm that I would take that place. I'm so happy.
I kind of humiliated myself a little later though. It took a while to sink in, but when it did, I was on the parking lot of our local Zeemann walking with my sister and I suddenly started crying. 
I'll admit, I was really worried they wouldn't take me. I had some issues with the paperwork earlier. But now everything's fixed and from september on I will be going to school again.
I'm very excited.

There wasn't only good things this week. Actually this week started out with quite a bummer, but I'm just so happy right now, that I don't want to spoil my mood by talking about that again :)

See you guys next Tuesday! Enjoy the nice weather and spend some time outside. 
x Evelyn

Monday, March 31, 2014

Dress Your Doll - Dress Design No. 1

This is gonna be instructions on how to crochet your favorite doll a dress. This works for any size doll you like. As I said, it's instructions, not a pattern. (Although I will write the pattern of what I did, in case you have a My Scene doll and want the same dress)
At first you want to undress your doll and chose one of these tops (yellow, red or green) and one skirt (yellow, red or green). (I used both yellow).


Yes, I colored them with MS paint. Hush now.
Create a slip stitch and chain as high as you need. (For the yellow top, from the belly-button up to underneath her chest) (For the red top, from the top of her chest to her belly-button) (For the green top, from the top of her chest to the bottom of it) (for a My Scene doll and a yellow top, that's a chain4.)
Next you do a turning chain and you HDC across. We want this bit to be stretchy, so don't crochet too tightly.

Continue crocheting rows of HDC until it just fits around your doll. I'm gonna close it like a corset, but you can use buttons, a zipper, hook and eyes or even velcro. If you're gonna use a closing-method that involves overlapping fabric (velcro), add one more row of HDC.


Done?
You can fasten off. You can also sew in the end from the beginning slipknot.

Next step: If you're gonna close it with a string like a corset, you follow this step:


Get a piece of string and weave it through the foundation-chain and the top of the last stitches in criss-cross.

As you can see, I chose a hot pink to have a strong contrast with the purple.

We want it to look like this:


Insert your hook like on this picture (bottom rim). Take your yarn and create a slipknot.


Insert the slipknot into the stitch on your hook.


Then, slipstitch into the opposite stitch like in the next picture:


Now you're gonna start crocheting around that bottom rim. Two HDC at a time until you reach the end of your round.


Now we don't want that ugly seam we get from slip-stitching at the end of each row, so we're gonna work in continuous rounds.
If you want to make the green skirt, you'll continue by doing single stitches from now on until you like the length of your dress.


We'll just go on crocheting, but with a stitch marker.


For the second row I did an HDC increase followed by 5 single stitches.


You can chose another amount of stitches in between increases, but I recommend an uneven number for this row.


When you are nearing the end of your row, you will find that your stitch-count will probably not match with the end of the round.

Don't worry about it.

Just finish your frame and replace the stitch marker. It doesn't really matter for this pattern.


I am doing the yellow skirt, so I'm gonna continue increasing for a little bit longer.
We're not making an entire sphere here, so we're not gonna add one single stitch each row, but several.
For example, I went from 5 single stitches to 7.


See how my stitch marker does zig-zag jumps? This really doesn't matter!


This is the last row of increasing I am doing. If you're making the red skirt, you'll continue increasing. If you're doing the yellow skirt, but for a bigger doll, I suppose you could continue too. Just try out what looks best to you.


My stitch marker kind of played hop-scotch, didn't it?


I am now doing several rows of single stitches until the skirt is long enough for me. (I did 4 rows)


I like it this length, so now I'm gonna fasten off.


To hide the end of the round, I finished off by doing 1SC and a slip stitch in the next stitch before cutting my yarn and sewing it in.


Next we want to create the bust. In order to do so, we're gonna insert another slipknot. This time into the upper rim of that first bit we made. Just like on the picture, we'll take the very first space left of the closing gap.
We're gonna SC until we reach the end of the back. Under the arms we're gonna make HDC and once we reach the front of the dress we do clusters of DC. (I did 6DC in 1st). In between I put 1HDC and then I repeated the whole thing, but backwards.


This is what it looked like in the end.


Now I just needed something to hold it up. I went for a neckholder-thing. I slip-stitched my way from the back of the dress to the tip of the clusters and finished off with chains to tie together in her neck.


 Here is the basic dress.

Now you can embellish it to your liking.

You can add decorative buttons.

Or little flowers.

Or ribbons...

Whatever you like.

A sash, maybe?

Or a bottom rim?

There are no boundaries!

NO EDGE to your fantasy!


Here's how mine ended up. I laced some string into the front of the belly-part to make it look like a corset.


I also laced a chain all through the bottom-most stitches of the skirt to imitate ribbon.


And I added a row of SC interrupted with picot-stitches.


Sunday, February 9, 2014

How to Customize your Hooks

You might have seen a while ago I made this handle for my 4.25mm hook:
And I thought I'd show you how to do that. Here's what you're gonna need:
A profile-free underground (like a translucent document-sleeve and some ustensils you can use to bend, cut, roll out or shape in any other way.
Handleless metal-hooks (as many as you want/need). (I recommend using at least a 3mm hook or bigger)
And last but not least: FIMO or any other polymer clay. FIMO is modelling clay that hardens when baked.
First you're gonna roll a long string of FIMO. If you use lots of FIMO, you could use left-overs for this step. I used some translucent FIMO that was bought for us by accident and that we can't really use for anything...

I always try to get a string roughly as large as the hook itself.

Next you want to wrap it around your hook's handle starting at the flat bit labelled with the hook's size (maybe try and leave the size visible). We want to use that flat bit to make sure our handle isn't gonna slip off the hook.
 Now you need to roll the whole hook on your sleeve until it's all straight like here:
You want to choose the base-color of your handle and roll out a piece of FIMO large enough to cover up the whole handle. I went for glow-in-the-dark FIMO.
You just wrap it aroung the handle and cut off the excess at the top. You can hide the seem by smudging it with your thumb.
Now start adding whatever decoration you want to put on it. I decided I want to attach a Pokéball to the end:
To attach a Pokéball, I start by wrapping a large string of white around the tip. (This is glow-in-the-dark again) Then I smudge the edges until it has the shape of a half-sphere after which I push a half-sphere of red FIMO on top of it. No need to smudge that edge, We're gonna hide it with a thin string of black FIMO. The seem between the two ends of that string is gonna disappear behind the Pokéball's button.
I thought the handle looked a bit naked just like that, so I added some swirls in black and blue. This is what I ended up with:
All you need to do now is bake it according to the instruction on the packaging (for Staedtler FIMO it's 110°C for 30 minutes), let it cool down and then you have your unique crochet hook!

One last little tip for you all. If you have a baking-oven at home that works with wood, don't use it. Even if it's saving electricity or whatever. Because a fire isn't controllable. You can't possibly control the temperature of a fire. You'r egonna end up with something very much like this... 
 I had to surgically seperate them with a clamp and a very sharp knife...
It looks quite funny from the inside... At least I learnt something... Never bake anything important in a fire-powered oven...

x Evelyn