This is a knit-crochet crossover pattern for the creatures called "Koroks" in Zelda, The Wind Waker. This is what they look like:
What you need:
- 1x light brown/grey-brown/cream wool
- 1x green wool (for the leaves. If you want, use red, orange or purple for the face)
- 1x crochet hook (adapted to green wool)
- 1x set of 4 or 5 knitting needles
- 1x tapestry needle
- 1x stuffing
- 1x green pipe-cleaners
- 1x brown pipe-cleaners (should have a color as close as possible to the brown wool you are using.
STEP 1 - BODY:
BROWN
Cast on 60. (if you want a smaller one, try 40)
Knit in a round until you find your tube long enough. CAREFUL! The length of your tube will not only be the main body, it will include the legs, but not the "ears"!
Finish off.
Put aside.
Cast on 16. (If you use 40 for the body, try 8 or 10)
Knit in a round for about 10 to 20 rows.
Finish off.
Make a second one.
Don't worry if you miscount, they'd better not be exactly the same size.
STEP 2 - LIMBS:
PIPECLEANERS
Twist two brown pipecleaners together and slip them through the tube's stitches like this:
Twist two green pipecleaners together and attach one end to one of the "hands". You will attach the "parachute-leaf" to the other end.
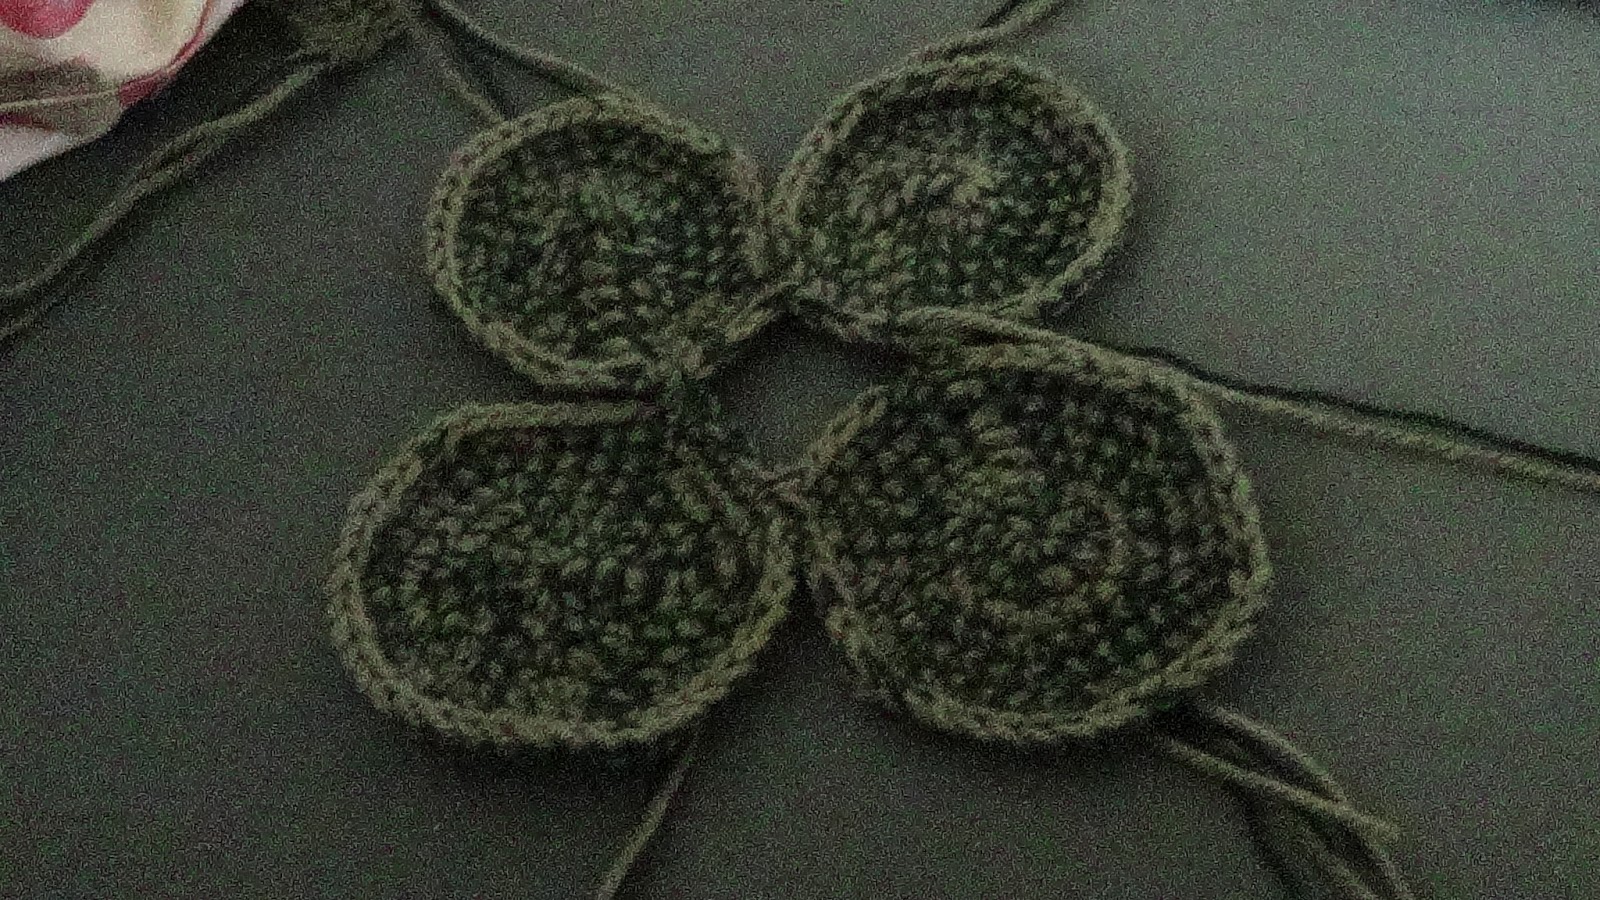
STEP 3 - FACE-LEAF:
GREEN/ORANGE/RED/PURPLE
Create a circle with 6sc.
Increase until you find it big enough.
Make two big ones and two smaller ones (To have a sort of clover)
Don't finish off the last one.
Crochet along the first side of the last hexagon, join to the other big one, crochet accross one side, join to one small one, crochet across one side, join the last one and crochet across one side, join to the beginning.
Sew the middle hole around the Korok's nose.
Sew on the eyes and a hint of a mouth on with black yarn.
STEP 4 - PARACHUTE-LEAF:
GREEN
Double or Triple-strand the green wool.
Create a circle with 6sc.
Increase the circle until you find it big enough.
I like mine like this: (1sc in 6sc, 2sc in 1sc)
Continue increasing in the first two sides of the hexagon for 1r.
Start decreasing on the sides to make the leaf's tip:
Make two of them. Don't worry if they're not the same, no leaf is exactly the same as another one...
Sew them to the pipecleaner:
STEP 5 - FINALE:
Sew ends of the tube to have a nice shape.
Stuff.
Bend the arms in whichever way you like.
Finished! :D